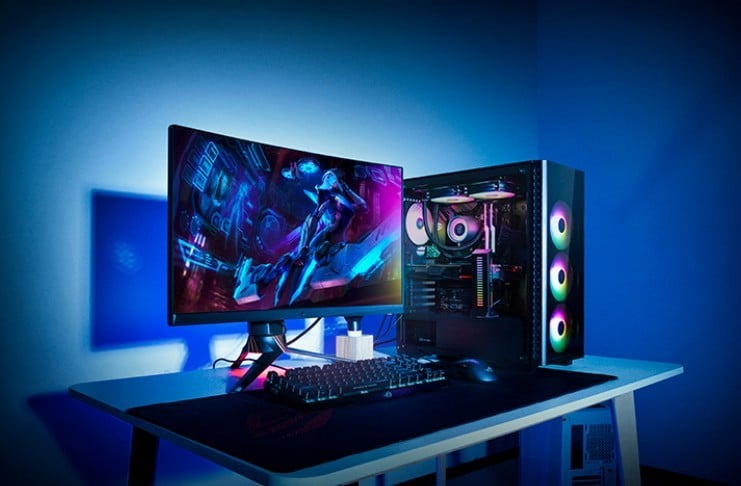
Gaming PCs have become an increasingly popular way to enjoy video games. While many people believe that building a gaming PC is a costly affair, it is actually quite possible to build one for under $1000. In this article, we will provide a detailed guide on how to build a gaming PC for under $1000.
Step 1: Set a budget and plan
The first step in building a gaming PC is to set a budget and plan. The budget should be realistic and within your means. The plan should include the components you need to purchase, such as the CPU, GPU, RAM, motherboard, storage, and power supply. You should also decide on the type of games you will be playing and the settings you will be using.
Step 2: Choose a CPU
The CPU is the most important component of a gaming PC. It is responsible for processing all the data and instructions from the game. For a budget gaming PC, we recommend going for a mid-range CPU like the AMD Ryzen 5 3600 or the Intel Core i5-10400F. Both of these CPUs offer excellent performance for gaming and are reasonably priced.
Step 3: Choose a GPU
The GPU is responsible for rendering the graphics in a game. For a budget gaming PC, we recommend going for a mid-range GPU like the NVIDIA GeForce GTX 1660 Super or the AMD Radeon RX 5600 XT. Both of these GPUs offer excellent performance for 1080p gaming and are reasonably priced.
Step 4: Choose a motherboard
The motherboard is the main circuit board that connects all the components in your PC. For a budget gaming PC, we recommend going for a mid-range motherboard like the MSI B450 Tomahawk MAX or the ASRock B550M Pro4. Both of these motherboards offer excellent features and are reasonably priced.
Step 5: Choose RAM
RAM is responsible for storing the data that the CPU needs to process. For a budget gaming PC, we recommend going for 16GB of DDR4 RAM. This is more than enough for most modern games and will ensure that your PC runs smoothly.
Step 6: Choose storage
Storage is where you store all your games and data. For a budget gaming PC, we recommend going for a 500GB SSD. This will provide you with fast load times and enough storage for several games.
Step 7: Choose a power supply
The power supply is responsible for providing power to all the components in your PC. For a budget gaming PC, we recommend going for a 500W power supply. This will provide you with enough power to run all your components without any issues.
Step 8: Choose a case
The case is where you will be housing all your components. For a budget gaming PC, we recommend going for a mid-tower case like the Cooler Master MasterBox NR600. This case offers excellent features and is reasonably priced.
Step 9: Assemble the PC
Once you have all your components, it is time to assemble your PC. This may seem daunting, but it is actually quite easy. Start by installing the CPU and the RAM on the motherboard. Then, install the motherboard in the case and connect all the cables. Install the GPU, the storage, and the power supply. Finally, connect all the cables and turn on the PC.
Step 10: Install the operating system and drivers
Once you have assembled your PC, it is time to install the operating system and drivers. We recommend going for Windows 10, as it is the most popular operating system for gaming. Install all the necessary drivers for your components and your PC is now ready to use.
In conclusion, building a gaming PC for under $1000 is quite possible. By following the steps outlined in this guide, you can create a powerful gaming PC that can handle most modern games. Remember to set a realistic budget, plan out the components you need, and choose mid-range components that offer a balance between performance and cost. By doing this, you can get the most bang for your buck and create a gaming PC that will provide you with hours of entertainment.
